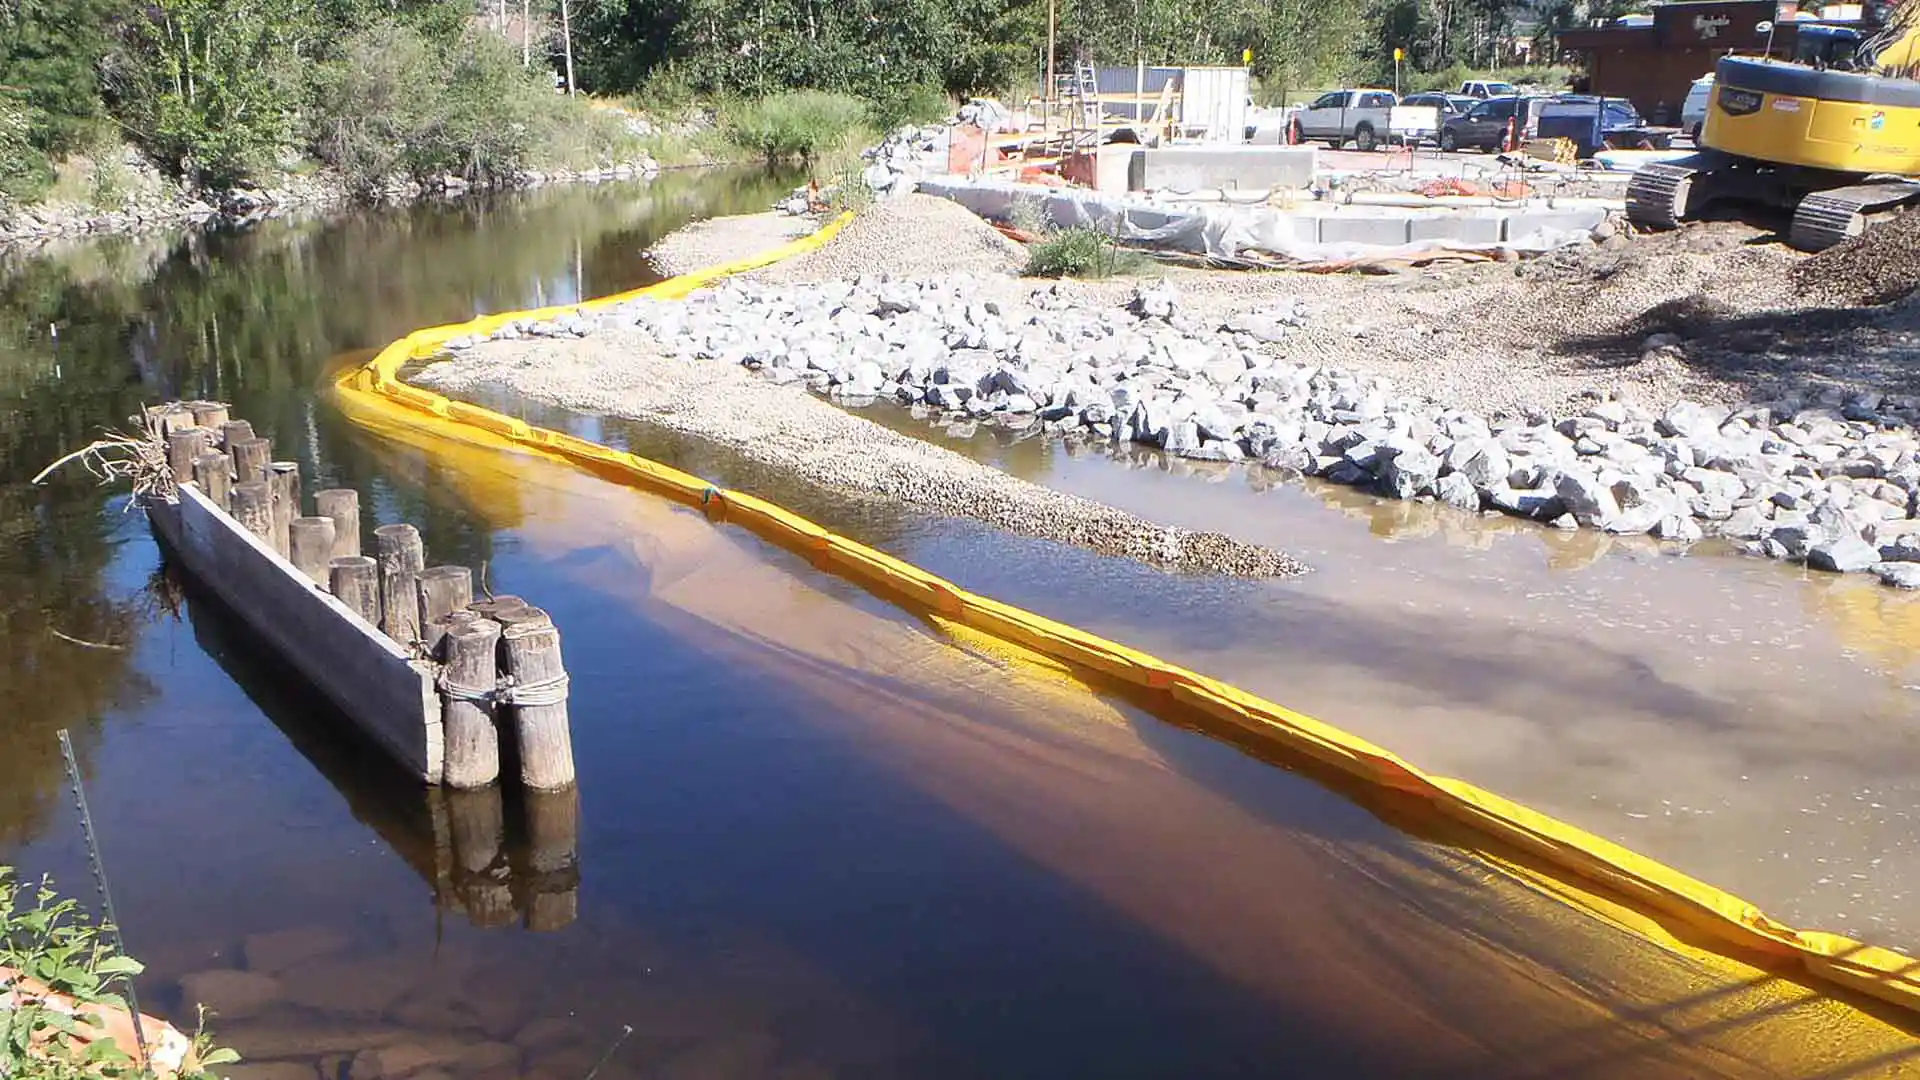
Enviro-USA Type 1 Silt Curtain Installation Steps:
Type 1 (or Type I as referred to in Florida, Connecticut and Mississippi) turbidity barriers are designed for calm water applications. Following the steps below will ensure proper installation and longevity of the product.
1. Carry bundle close to water where floating silt curtain will be deployed, remove plastic shipping material and proceed to cut black shipping strap holding floating silt curtain together.
2. On one end of the barrier; untie white polyline around 1st float and proceed to spread skirt open so that you have access to grommets along end leading edge.
3. Carry a second bundle close to first barrier and proceed to remove bag, cut black shipping strap holding floating silt curtain together, untie white polyline around 1st float and proceed to spread skirt open so that you have access to grommets along end leading edge.
4. At this time you want to proceed to put sections together by taking zip ties and lacing grommets together.
5. When done zip tying ends together proceed to furl skirt back up against the float and retie with white polyline.
6. Proceed to do steps 3, 4 and 5 to as many sections as required for around the work area.
7. Once all the sections have been put together, proceed to drive a stake in ground where floating silt barrier will be tied off to on first side of pond.
8. Proceed to put the Floating Turbidity Barrier into water around job site or work area: start from end that has NOT been tied to stake. At this time it is always good to have a boat in the water thereby towing the floating turbidity barrier in place across pond or around work area.
9. Once the boat has placed the floating silt barrier around the work area proceed to drive a stake in ground where floating silt barrier will be tied off to on second side of pond.
10. Now it’s time to set anchors in place so that floating silt barrier will stay around work area and not in work area. If there is very little current or none at all you may want to use an anchor system every 200 ft. (you may need more anchors closer together if there is a lot of water activity).
11. Proceed to tie anchor system to anchor point on floating turbidity barrier and drop anchor into water. The anchor point on floating turbidity barrier is water line on each end.
12. If any adjustments to floating silt curtain configuration needs to take place this is the time to do it. If satisfied with configuration, proceed to cut the white polylines holding the skirt furled and let the skirt drop in place. The chain (ballast) at bottom of floating turbidity barrier will pull skirt down and taught in place.
Summary: The Floating Turbidity Curtain should be around work area, the ends should be tied off to stakes on land, the anchor systems should be tied to anchor cable loops at bottom of skirts and anchors should be in water holding the barrier in place and the furling yellow straps around the floats should have been cut off and the skirt should have dropped in place. Should you have any questions about how to install a floating silt barrier or how to control sediments during marine construction, please contact Enviro-USA American Manufacturer LLC.


